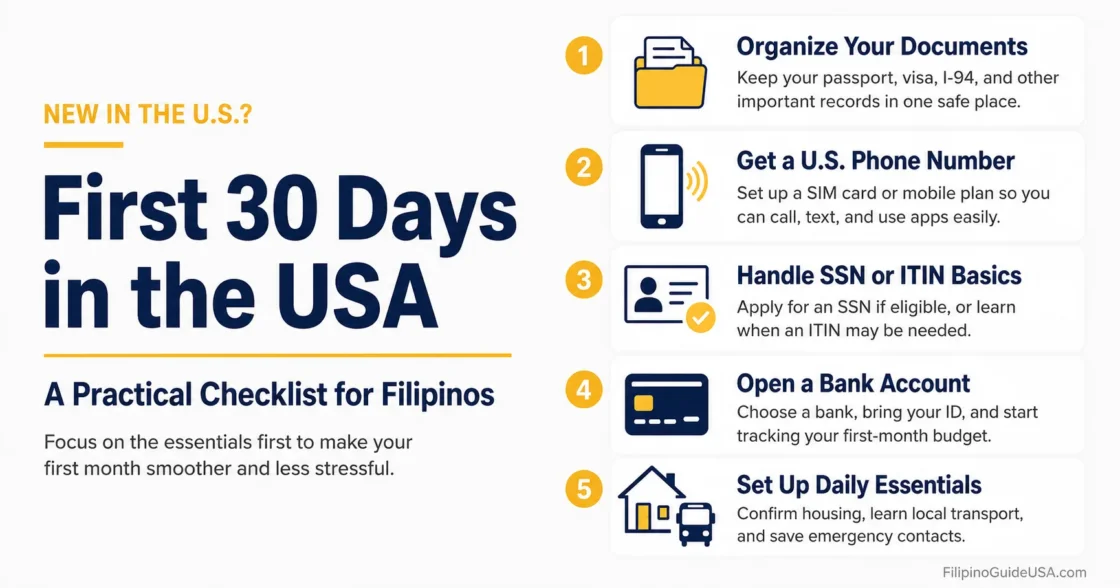
First 30 Days in the USA for Filipinos: Practical Checklist
The first month in the United States is the time to turn arrival documents, addresses, phone access, health coverage, banking, and state identification into a stable routine. For Filipino newcomers, the safest approach is to separate tasks by immigration status, complete time-sensitive steps first, and keep Philippine and U.S. records organized from the first week.
Why this matters →
The first 30 days can affect mail delivery, immigration notices, work eligibility, health access, school enrollment, and future U.S. applications.
Documents to Keep Ready: Keep originals safe and carry copies only when needed.
- Valid Philippine passport with U.S. visa or entry stamp
- Printed or saved Form I-94, if applicable to the visa category
- Immigrant visa packet information, USCIS account details, or receipt notices, if applicable
- Permanent Resident Card, Employment Authorization Document, I-20, DS-2019, I-797 approval notice, or other status document, if already issued
- PSA-issued birth certificate, marriage certificate, and name-change records, if relevant
- Vaccination records, prescriptions, school transcripts, employment records, and professional licenses
- Proof of U.S. address, such as lease, utility setup, bank mail, school letter, or host letter where accepted
- Emergency contacts in the United States and the Philippines
Day 1 to Day 3: Secure Entry Records and Contact Details
Start with records that prove lawful entry, mailing access, and the address where official notices can reach you.
Step 1: Save Your Arrival Proof
Take photos or scans of the passport identity page, U.S. visa page, entry stamp, airline itinerary, and any admission document received at the airport or land border. Store the files in a secure cloud folder and in a phone folder that can be opened offline.
Step 2: Check Whether You Need an I-94 Record
Many temporary visitors, students, exchange visitors, and workers need the Form I-94 as proof of their admission record and authorized stay. USAGov explains that the I-94 can show the most recent arrival record, travel history, and how long a visitor is legally allowed to stay in the United States.[a]
Tip: If the name, passport number, visa class, or admission-until date looks wrong, address the issue early instead of waiting until a school, employer, DMV, or bank asks for the record.
Step 3: Confirm the Mailing Address Used for U.S. Government Notices
Use one reliable U.S. mailing address for immigration notices, bank mail, insurance letters, and school records. If the first address is temporary, make a note of when it may change and which agencies must be updated.
IMPORTANT NOTICE: Most noncitizens must report a change of address to USCIS within 10 days of moving. This applies even when the move is within the same city. Status-specific exceptions exist, so the USCIS address-change page should be checked before relying on informal advice.[b]
Step 4: Check Whether Any Separate Registration Rule Applies
Some noncitizens who remain in the United States for 30 days or more may need to confirm whether they are already registered through their visa, I-94, green card process, or another DHS record. USCIS maintains a separate page for alien registration information, and anyone unsure about their category should check the official instructions rather than assuming that no action is required.[c]
Day 4 to Day 10: Set Up Identity, Phone, Banking, and Mail
This stage turns arrival status into the everyday tools needed for work, rent, transport, and communication.
Step 1: Apply for or Track Your Social Security Number
A Social Security number may be needed for work, taxes, banking, loans, and some government processes. The Social Security Administration states that first-time SSN requests are free, and some noncitizens may request a number if they work, attend school, or have a valid nonwork reason.[d]
If an SSN was requested during an immigrant visa process, wait for mail at the U.S. address used in the application before submitting a duplicate request. If the card does not arrive after a reasonable period, use the SSA office locator or official SSA instructions rather than sending personal documents to an unofficial service.
Step 2: Do Not Treat an ITIN as a Work Permit
An Individual Taxpayer Identification Number is issued by the IRS for federal tax purposes when a person needs a U.S. taxpayer identification number but is not eligible for an SSN. The IRS states that an ITIN does not authorize work, does not provide immigration status, and is not general identification outside the federal tax system.[e]
Step 3: Set Up a U.S. Phone Number
A U.S. number helps with bank verification, employer calls, school contact, delivery access, two-factor authentication, and healthcare portals. Keep the Philippine number active for a transition period if it is still tied to bank OTPs, Philippine government accounts, or family emergency contact.
Step 4: Open a Bank or Credit Union Account
Ask the bank or credit union which documents it accepts for newcomers. Commonly requested items may include a passport, U.S. visa, I-94 or immigration document, U.S. address, phone number, SSN if available, and proof of identity. Requirements vary by institution, so confirm before visiting a branch.
Tip: Keep the first bank account simple. A checking account, debit card, online login, and direct-deposit setup are usually more urgent than credit products during the first month.
Step 5: Create a Mail Routine
Use the same spelling of the full legal name on the mailbox, lease, bank account, USCIS account, school records, and insurance documents. A small name mismatch can delay mail delivery, identity verification, or future document checks.
Day 11 to Day 20: Handle Health, Driving, Work, and School
The second and third weeks are the right time to connect daily life with state systems and employer or school requirements.
Step 1: Review Health Coverage Options
Lawfully present immigrants may be eligible for Marketplace coverage and may qualify for savings depending on income and household details. HealthCare.gov also lists immigration statuses that may qualify for Marketplace coverage, Medicaid, or CHIP depending on state and federal rules.[f]
Moving to the United States from a foreign country may also qualify as a move-related Special Enrollment Period for Marketplace coverage. HealthCare.gov notes that a move to the U.S. from a foreign country or U.S. territory can qualify, and proof of prior coverage is not required for that specific foreign-country move category.[g]
IMPORTANT NOTICE: Do not wait until an illness or injury happens before checking health coverage. Medical billing in the United States can be difficult to manage without insurance, employer coverage, school insurance, Marketplace coverage, or another valid plan.
Step 2: Check State Rules for a Driver’s License or State ID
Driver’s license and state ID rules are handled by each state, not by one national DMV. USAGov provides official links to state motor vehicle offices for driver’s licenses, ID cards, vehicle registration, and REAL ID information.[h]
Before visiting a DMV or motor vehicle office, check the state list for accepted immigration documents, proof of address, SSN or SSA letter rules, testing requirements, appointment rules, and whether a Philippine driver’s license or International Driving Permit has any limited use.
Step 3: Confirm Work Authorization Before Starting Work
A job offer alone does not always mean a person may begin working. USCIS explains that Form I-9 is used to verify the identity and employment authorization of individuals hired for employment in the United States.[i]
Lawful permanent residents, some visa holders, and EAD holders may have different work rules. Students, exchange visitors, spouses, and pending green card applicants should check status-specific limits before accepting paid work, side jobs, freelance tasks, or cash work.
Step 4: Prepare School and Child Records
Families with children should keep vaccination records, birth certificates, previous school records, address proof, and emergency contacts ready. Enrollment documents vary by school district, and some districts require translated records or immunization review before class placement.
Day 21 to Day 30: Build the Household System
Use the final part of the first month to prevent avoidable delays in mail, payments, renewals, and consular needs.
Step 1: Create a Renewal and Deadline Calendar
Add reminders for visa expiration, I-94 admission date, passport expiration, EAD expiration, driver’s license renewal, insurance premium due dates, lease dates, school deadlines, and tax filing season. Use dates from official documents, not memory.
Step 2: Connect With the Correct Philippine Consulate or Embassy Service Area
Filipinos in the United States may need consular services for passport renewal, civil registry reports, dual citizenship, notarization, overseas voting, or consular outreach appointments. The Philippine Embassy in Washington, D.C. notes that consular outreach missions may offer passport services, dual citizenship services, civil registry services, and overseas voting registration depending on schedule and availability.[j]
Step 3: Organize Remittance and Philippine Account Access
Keep Philippine bank accounts, mobile wallets, SIM cards, and email addresses secure during the transition. Update recovery email addresses and passwords before the Philippine SIM becomes inactive. Save receipts for remittances and avoid sending money through unfamiliar accounts or unverified middlemen.
Step 4: Build an Emergency Folder
Create one folder for passport copies, visa copies, I-94, insurance card, prescriptions, lease, bank information, emergency contacts, school contacts, and consular contact details. A trusted household member should know where this folder is kept.
Status-Specific Notes for Common Filipino Arrivals
The first-month checklist changes depending on whether the person arrived as a permanent resident, fiancé(e), student, worker, visitor, or family member.
| Arrival Situation | First-Month Focus | What to Avoid |
|---|---|---|
| Immigrant visa or new lawful permanent resident | Confirm the U.S. mailing address, pay or confirm the USCIS Immigrant Fee if not already paid, track SSN delivery if requested, and monitor Green Card delivery. | Do not ignore a wrong mailing address. USCIS states that the immigrant fee is used to process the immigrant visa packet and produce the Permanent Resident Card.[k] |
| K-1 fiancé(e) visa | Confirm the 90-day marriage deadline, prepare civil documents, and plan the next adjustment-of-status steps after marriage. | Do not treat the 90-day period as flexible. The Department of State states that the K-1 visa allows travel to the United States to marry the U.S. citizen sponsor within 90 days of arrival.[l] |
| F-1 student or J-1 exchange visitor | Check I-94 details, school reporting steps, address rules, insurance rules, and employment limits. | Do not begin off-campus work without school and status-specific authorization. |
| H, L, O, or other employment-based status | Verify I-94 class and end date, keep the I-797 approval notice accessible, and complete employer onboarding carefully. | Do not assume the visa stamp date and I-94 admission date are the same thing. |
| B-1/B-2 visitor | Check the I-94 admission-until date, keep travel evidence, and maintain a clear visitor purpose. | Do not work in the United States as a visitor. |
First-Month Task List by Week
This timeline keeps the most time-sensitive steps near the beginning and leaves state-specific tasks enough room for appointments.
| Timing | Tasks | Done When |
|---|---|---|
| Day 1 to Day 3 | Save passport, visa, entry stamp, I-94 if applicable, address record, and emergency contacts. | Documents are scanned, backed up, and easy to access. |
| Day 4 to Day 10 | Set up U.S. phone number, mailing routine, bank account, and SSN follow-up. | You can receive calls, mail, bank alerts, and official notices. |
| Day 11 to Day 20 | Check health coverage, DMV or state ID rules, work authorization, and school requirements. | Appointments, applications, or document lists are confirmed from official sources. |
| Day 21 to Day 30 | Set reminders, organize consular information, review remittance access, and store household records. | Renewal dates, contacts, and official account logins are under control. |
Mistakes That Often Delay the First Month
Most delays come from address problems, mismatched names, missing proof of status, or assuming rules are the same in every state.
- Using different name formats: Match the passport, visa, I-94, SSN, bank, school, and DMV records as closely as possible. Keep marriage and name-change records ready if names differ.
- Waiting too long to check the I-94: Temporary visitors and workers should review the I-94 early, because employers, schools, and DMVs may rely on it.
- Assuming every DMV accepts the same documents: State rules differ. Check the state motor vehicle office before booking transportation or taking time off work.
- Confusing SSN, ITIN, and work authorization: These are different systems. An SSN or ITIN alone does not always prove permission to work.
- Letting Philippine account recovery fail: Keep Philippine SIM, email, and banking recovery options working until U.S. replacements are stable.
- Ignoring official mail: USCIS, SSA, IRS, insurance companies, schools, and state agencies may send time-sensitive letters by mail.
Practical Note: A newcomer does not need to finish every U.S. life task in 30 days. The goal is to protect immigration status, receive official mail, access healthcare options, set up identity and banking basics, and avoid preventable document errors.
Before the First Month Ends
Use the final review to make sure important records are accurate and no deadline is hidden in a document or online account.
- Confirm that the U.S. address is current with the agencies that need it.
- Download or print the I-94 if the visa category uses one.
- Check whether the SSN card has arrived or whether follow-up is needed.
- Confirm health coverage, employer coverage, school insurance, or a plan to apply.
- Check DMV or state ID requirements and gather proof of address.
- Save receipts for immigration fees, insurance payments, rent deposits, and remittances.
- Store Philippine and U.S. documents in one secure folder.
- Write down upcoming deadlines for visa, I-94, EAD, passport, school, tax, and insurance matters.
Verification Note: U.S. immigration, tax, health insurance, DMV, and consular rules can change. Before filing, paying a fee, working, traveling, or relying on a deadline, check the official agency page linked in the Sources section or ask a qualified professional for advice based on the exact immigration status.
Sources
- [a] USAGov, Form I-94 Arrival-Departure Record for U.S. Visitors — used for I-94 purpose, access, and admission-date information. This is reliable because USAGov is the official U.S. government information portal.
- [b] USCIS, AR-11 Alien’s Change of Address Card — used for the address-change requirement. This is reliable because USCIS is the federal agency that administers many immigration filings and records.
- [c] USCIS, Alien Registration Requirement — used for the note on possible registration duties for some noncitizens. This is reliable because it is the official USCIS guidance page for the topic.
- [d] Social Security Administration, Request a Social Security Number for the First Time — used for SSN purpose, eligibility, and free application information. This is reliable because SSA issues Social Security numbers.
- [e] IRS, Individual Taxpayer Identification Number — used for ITIN definition and limits. This is reliable because the IRS issues ITINs and administers federal tax identification rules.
- [f] HealthCare.gov, Coverage for Lawfully Present Immigrants — used for Marketplace and immigrant health coverage eligibility context. This is reliable because HealthCare.gov is the federal Marketplace information source.
- [g] HealthCare.gov, Special Enrollment Period — used for move-related enrollment information, including moving to the U.S. from a foreign country. This is reliable because it is the official Marketplace guidance page for Special Enrollment Periods.
- [h] USAGov, State Motor Vehicle Services — used for state DMV and state ID direction. This is reliable because it links users to official state motor vehicle agencies.
- [i] USCIS, Form I-9 Employment Eligibility Verification — used for employment authorization verification. This is reliable because USCIS administers Form I-9 guidance.
- [j] Embassy of the Republic of the Philippines in Washington, D.C., Consular Outreach Program — used for Philippine consular outreach and overseas voting service context. This is reliable because it is an official Philippine government mission website.
- [k] USCIS, USCIS Immigrant Fee — used for the green card production fee note for immigrant visa arrivals. This is reliable because USCIS manages the immigrant fee and Permanent Resident Card production process.
- [l] U.S. Department of State, K-1 Fiancé(e) Visa — used for the 90-day marriage rule. This is reliable because the Department of State manages U.S. visa information through Travel.State.gov.