For most Filipino travelers, a U.S. tourist trip starts with the visitor visa process, not with buying a ticket or collecting a thick folder of random papers. What matters most is a clear travel purpose, a DS-160 form that matches your real plans, and documents that make sense for your situation. For tourism, family visits, or short personal travel, the focus is usually on whether your trip is temporary, whether you can pay for it, and whether you have solid reasons to return after the visit.[a]
Which Visa Category Fits a Tourist Trip
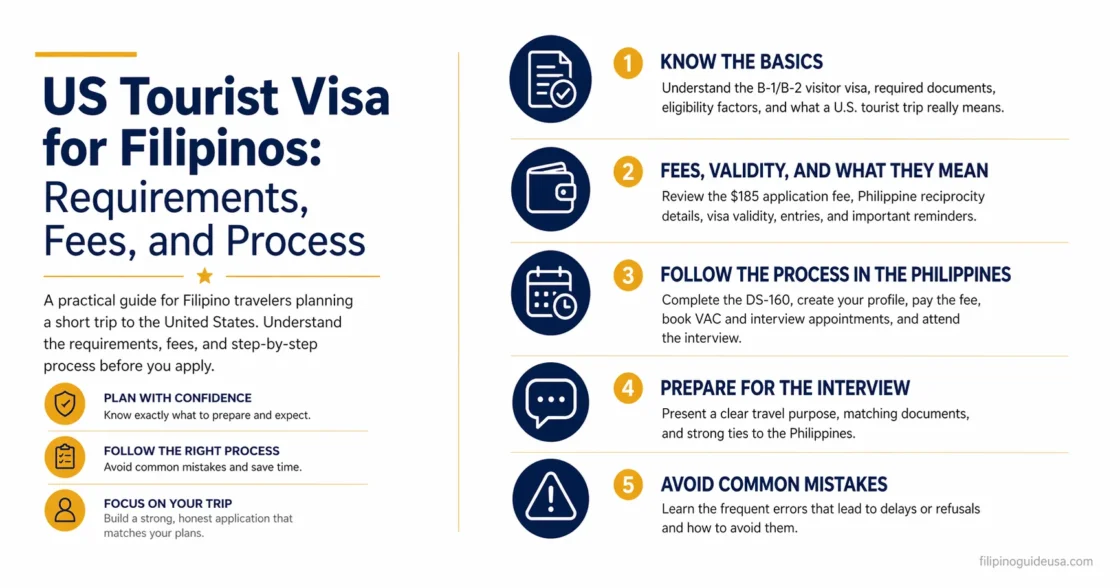
A leisure trip to the United States normally falls under the visitor visa category. In practice, Filipino applicants often receive a B-1/B-2 visa, even when the trip is mainly for tourism, but the standard still centers on temporary travel rather than work or long-term study.
If your real purpose is to study, work, or move permanently, this is not the right visa. Using the wrong category creates problems later, especially if your DS-160 answers, interview answers, and travel plans do not match.
What to Prepare Before You Apply
Before you start the application, have these items ready:
A valid Philippine passport
Your DS-160 confirmation page after you submit the form
Your visa fee payment record, if required before scheduling
A photo that meets U.S. visa photo rules if the digital upload does not work
Documents that help show your trip purpose, your ability to pay, and your intent to leave the United States after the trip
Each traveler needs a separate application, including children. The State Department also says applicants may be asked for evidence of trip purpose, proof they plan to leave after the visit, and proof they can cover the cost of the trip.[a]
There is no official published minimum bank balance for a U.S. tourist visa. What matters is whether your finances fit the trip you described.
That point gets missed often. A short vacation with a modest itinerary does not need to look like a luxury trip. Your financial documents should simply make sense for your plans. If someone else is paying for part of the trip, that should also be easy to explain.
Fees, Validity, and What They Really Mean
The current nonimmigrant visa application fee for B-category visitor visas is $185, and that fee is non-refundable even if the visa is refused.[b]
For Philippine nationals, the reciprocity table lists B-1, B-2, and B-1/B-2 visas with no visa issuance fee, multiple entries, and a 120-month validity period once issued.[c]
Item | Official Note |
|---|---|
Application Fee | $185 |
Visa Issuance Fee for Philippine B Visas | None |
Entries | Multiple |
Visa Validity | 120 months |
A 10-year multiple-entry visa sounds simple, but many short articles blur two different things: visa validity and length of stay. The visa lets you travel to a U.S. port of entry and ask to enter. It does not guarantee admission, and it does not by itself decide how long you can stay on each trip. That decision is made at entry by U.S. Customs and Border Protection.[a]
How the Process Works in the Philippines
Fill Out the DS-160 Carefully
The DS-160 is the starting point. Use consistent information about your passport, work, travel history, family details, and trip purpose. Small mistakes do not always ruin a case, but inconsistent answers can create extra questions later.
After completing the DS-160, print or save the confirmation page. You will need it for the rest of the process and for your interview record.[a]
Create Your Appointment Profile and Pay the Fee
For applicants in the Philippines, the embassy’s appointment system requires you to create an online profile after submitting the DS-160. That profile is used for scheduling and for handling passport return and delivery details after the case is decided.[d]
Pay the visa fee through the current payment method listed for the Philippines, then keep the payment details exactly as recorded in your profile. Apply early rather than waiting for a planned travel month, because interview availability can move up or down based on workload and staffing.[f]
Book the Required Appointments
In the Philippines, applicants should expect a two-step appointment flow: a Visa Application Center visit for photo and fingerprints, followed by the embassy interview. The Manila post announced a separate VAC step for visa applicants, so it is important to follow the local scheduling instructions in the correct order.[e]
This is one of the practical details many broad visa articles skip. If you only think about the interview and ignore the VAC step, you can lose time and create avoidable scheduling trouble.
Prepare for the Interview
Bring the documents that match your own case, not the largest pile of paper you can collect. The officer is trying to understand a few basic points:
Why you want to travel
How long you plan to stay
Who is paying for the trip
Why you will return after the visit
That usually means your documents should support your actual story: your work or business, your family situation, your travel dates, and your funding source. If your trip is short and ordinary, your evidence should look ordinary too.
Attend the Interview and Wait for the Decision
After the interview, the case may be approved, refused, or placed into additional review. If administrative processing is needed, the consular officer will tell you, and timing can vary by case. That is another reason not to make final travel plans too early.[g]
The State Department also says not to buy tickets until you have the visa. That advice is worth taking seriously, especially when your travel dates are still flexible.[a]
What Helps at the Interview
A strong application is usually easy to follow. It does not rely on dramatic explanations or a long script. It shows a temporary trip that fits your finances and your life in the Philippines.
A realistic travel reason
A trip length that matches your budget and schedule
Clear proof of how the trip will be paid for
Stable work, business, school, or family ties that point to return
A letter of invitation or an Affidavit of Support is not required for a visitor visa, and the State Department says applicants qualify based on their own ties abroad rather than promises from U.S. family or friends.
That does not mean such documents can never appear in a case. It means they should not be treated as the center of the application. For many Filipino applicants visiting relatives, this is one of the most misunderstood parts of the process.[a]
Mistakes That Cause Trouble
Submitting a DS-160 with rushed or inconsistent answers
Describing a trip that does not fit your work schedule or financial situation
Treating an invitation letter as the main proof of eligibility
Booking flights and hotels before the visa is issued
Assuming a 10-year visa means long stays are automatically allowed
Waiting too long to apply, then running into appointment backlogs
Questions Filipino Travelers Often Ask
Do I Need a Huge Bank Balance to Qualify?
No fixed peso amount appears in the official visitor visa rules. The officer looks at whether you can pay for the trip you described and whether your overall situation supports temporary travel. A modest, believable trip with matching finances is better than a costly itinerary that your documents do not support.
Is an Invitation Letter Required if I Am Visiting Family in the U.S.?
No. The State Department says a letter of invitation or Affidavit of Support is not required for a visitor visa. Family in the United States can be part of your travel story, but the decision still turns on your own eligibility and ties outside the U.S.
Does a 10-Year Visa Mean I Can Stay in the U.S. for 10 Years?
No. The visa validity period is the window during which you can use the visa to travel and request entry. Your actual period of stay is decided when you arrive in the United States.
Is Renewal Simpler Than a First Application?
The basic visitor visa process is the same for a new visa and a renewal. Local interview waiver rules can change, so it is smart to check the current embassy instructions before assuming you can skip any part of the process.[h]
Visa fees, appointment steps, and interview rules can change. Before paying, scheduling, or traveling, check the latest official U.S. visa pages and the Manila post instructions again.
Sources
U.S. Department of State, Visitor Visa — used for the DS-160 requirement, required documents, proof of trip purpose and return intent, the note that invitation letters are not required, and the rule that a visa does not guarantee admission (reliable because it is the State Department’s official visitor visa guidance page).
U.S. Department of State, Fees for Visa Services — used for the current $185 nonimmigrant visa application fee and the note that the fee is non-refundable (reliable because it is the official federal fee schedule for visa services).
U.S. Department of State, Philippines: Visa Reciprocity and Civil Documents by Country — used for Philippine B-1, B-2, and B-1/B-2 reciprocity details, including no issuance fee, multiple entries, and 120-month validity (reliable because it is the country-specific reciprocity record used by the State Department).
U.S. Embassy in the Philippines, FAQs: The New Visa Appointment System and Process — used for the Philippines-specific appointment profile and nonimmigrant scheduling flow after the DS-160 (reliable because it is published by the U.S. Embassy responsible for local visa operations in the Philippines).
U.S. Embassy in the Philippines, U.S. Embassy to Launch New Visa Application Center, Additional Consular Information Services — used for the separate Visa Application Center step in the Manila process (reliable because it is an official operational update from the local U.S. Embassy post).
U.S. Department of State, Visa Appointment Wait Times — used for the point that appointment timing can vary by post, workload, and staffing (reliable because it is the State Department’s official service page for interview wait estimates).
U.S. Department of State, Administrative Processing Information — used for the explanation that some cases need additional review after the interview and that timing varies by case (reliable because it is the State Department’s official page on post-interview administrative review).
USA.gov, How to Apply for or Renew a U.S. Tourist Visa — used for the note that new visitor visa applications and renewals follow the same basic process, while local renewal handling may differ (reliable because it is an official U.S. government public information portal that directs users to the State Department process).